Give the garment room
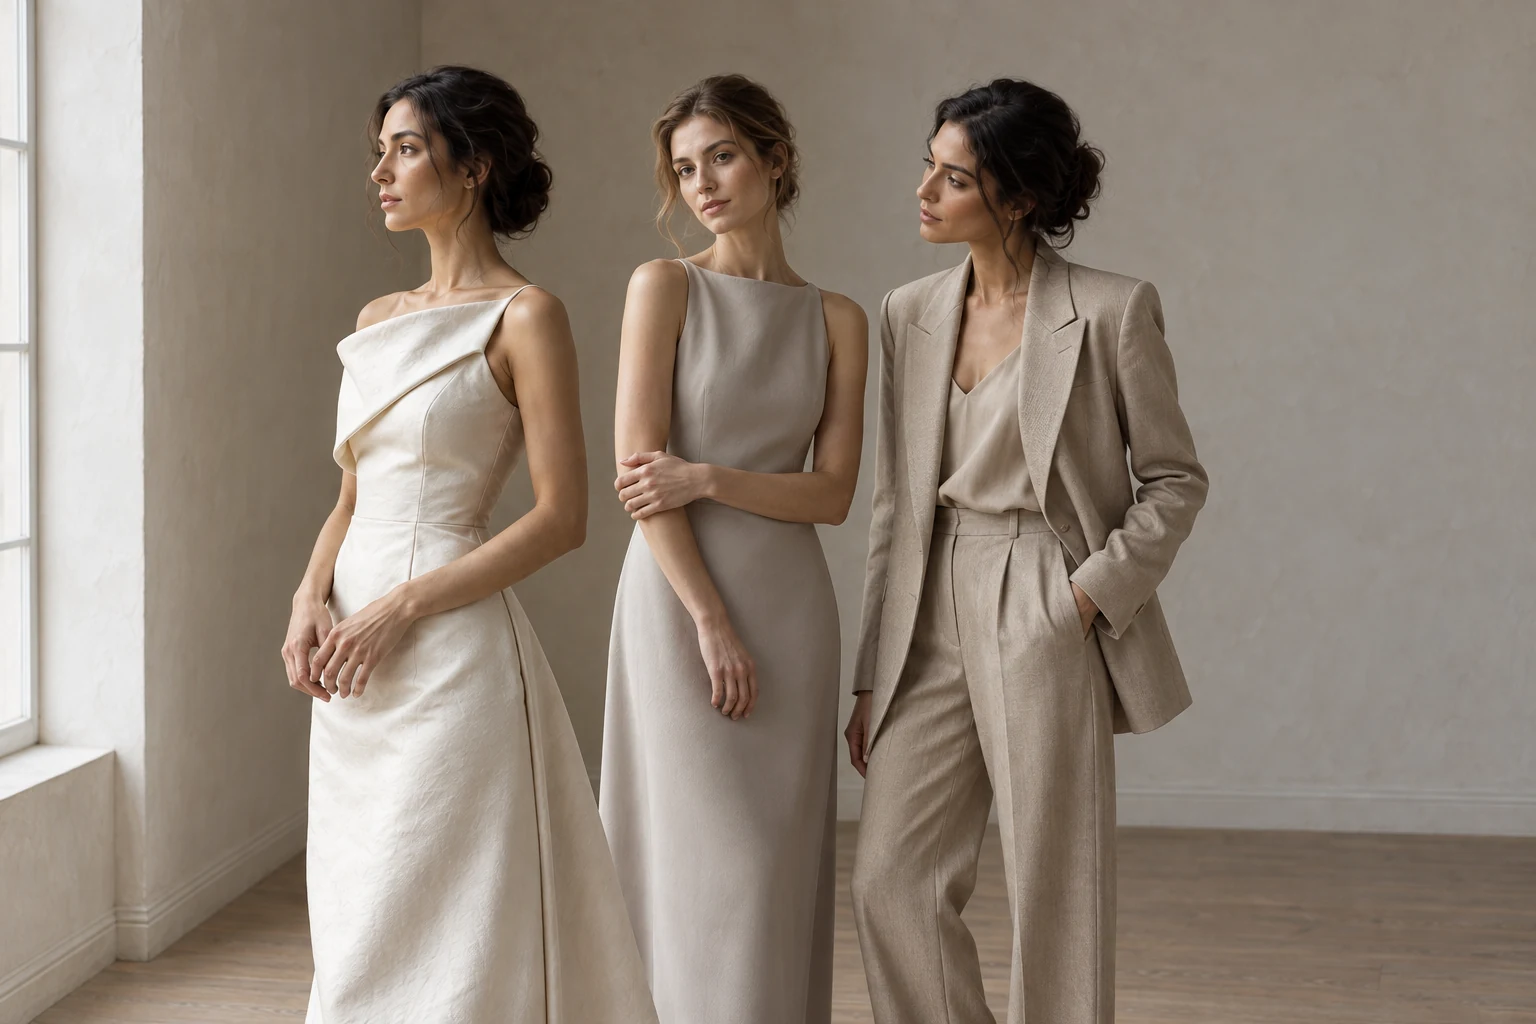
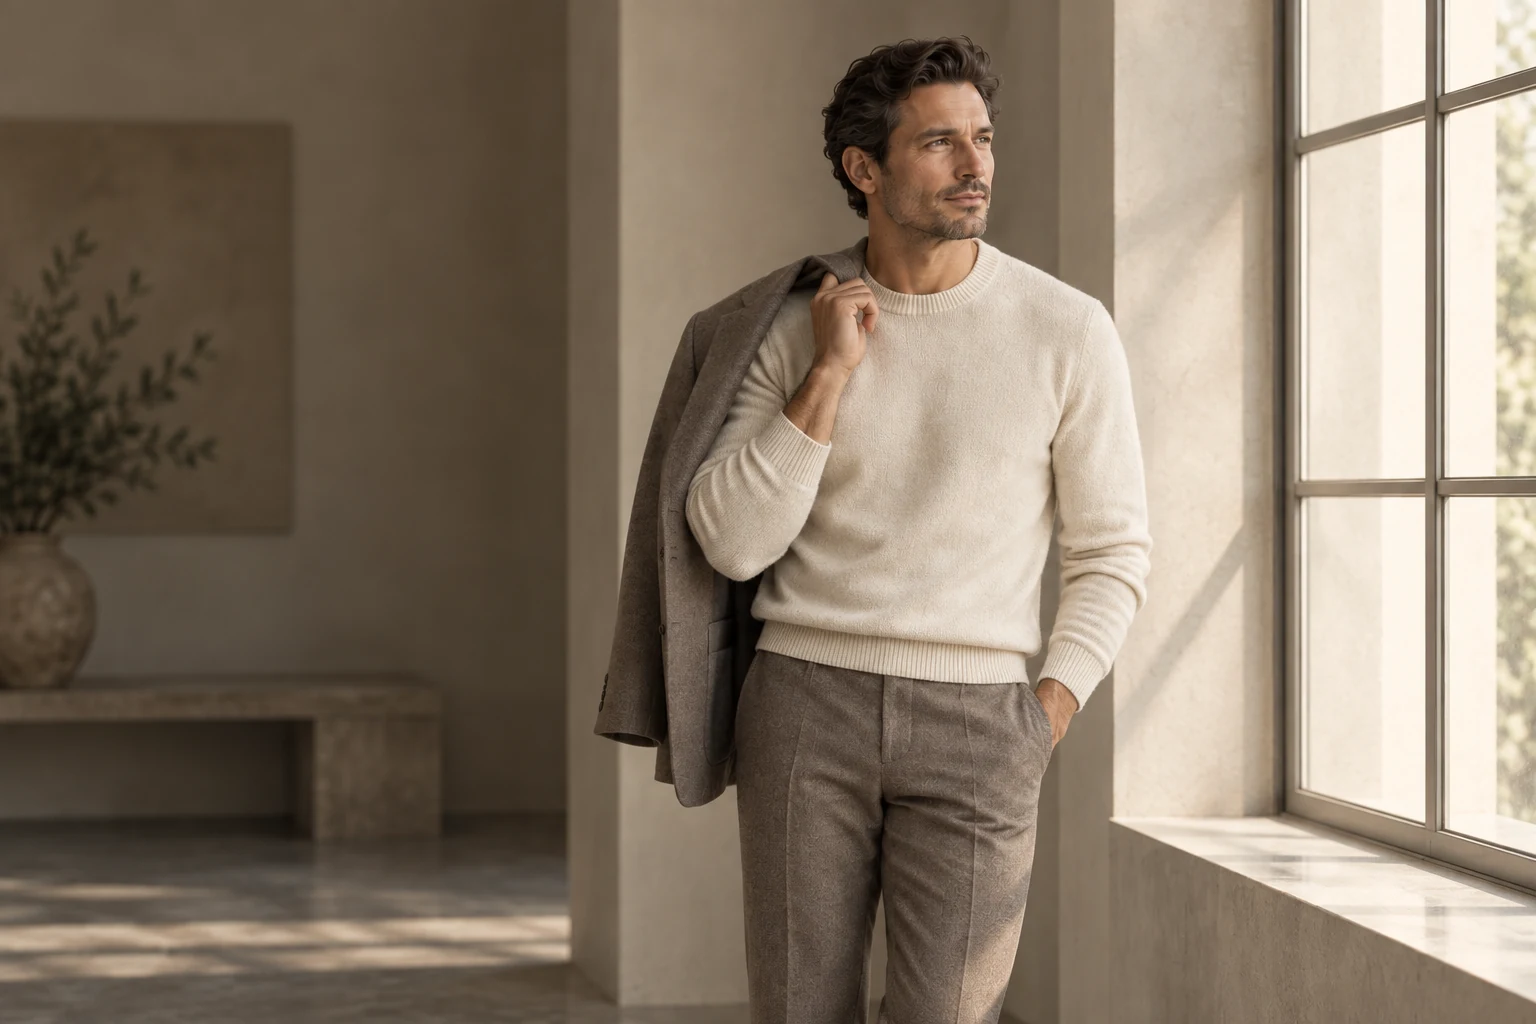
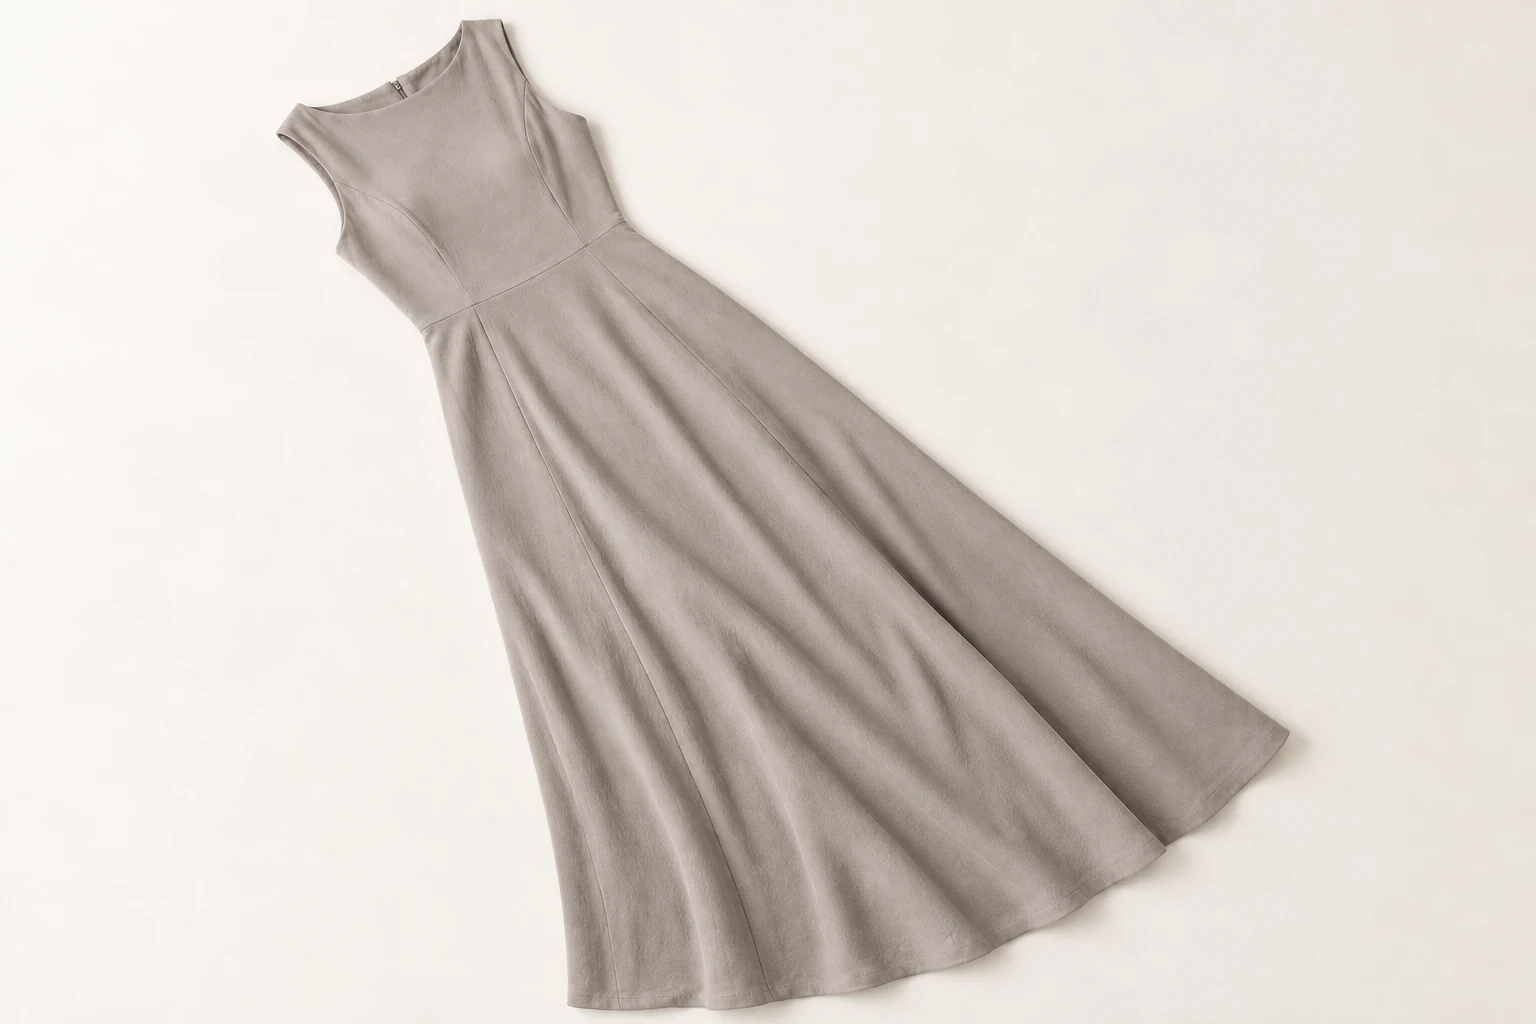
Lay the piece flat or photograph it on a model or mannequin without cutting off hems, cuffs, or sleeves. Leave a little space around the silhouette. If a detail is hidden in the source, the generated image may have to invent it.
Keep your light simple
Use even, indirect daylight or a soft studio light. Avoid mixing warm indoor lights with daylight. Strong shadows can obscure seams and make the garment color harder to judge.
Show what makes it yours
Include a clear view of patterns, fastenings, pockets, and labels. For complex garments, add useful alternate views rather than several nearly identical photos.
Review before you publish
Compare the output with the original. Look closely at the neckline, sleeves, logos, pattern alignment, and hem. AI can change details; the final approval should always be yours.